Engraving Notes
Precision Laser Engraving Solutions: What Actually Determines Quality
Power, speed, frequency and focus — the four settings that decide whether an engraving looks sharp or muddy.
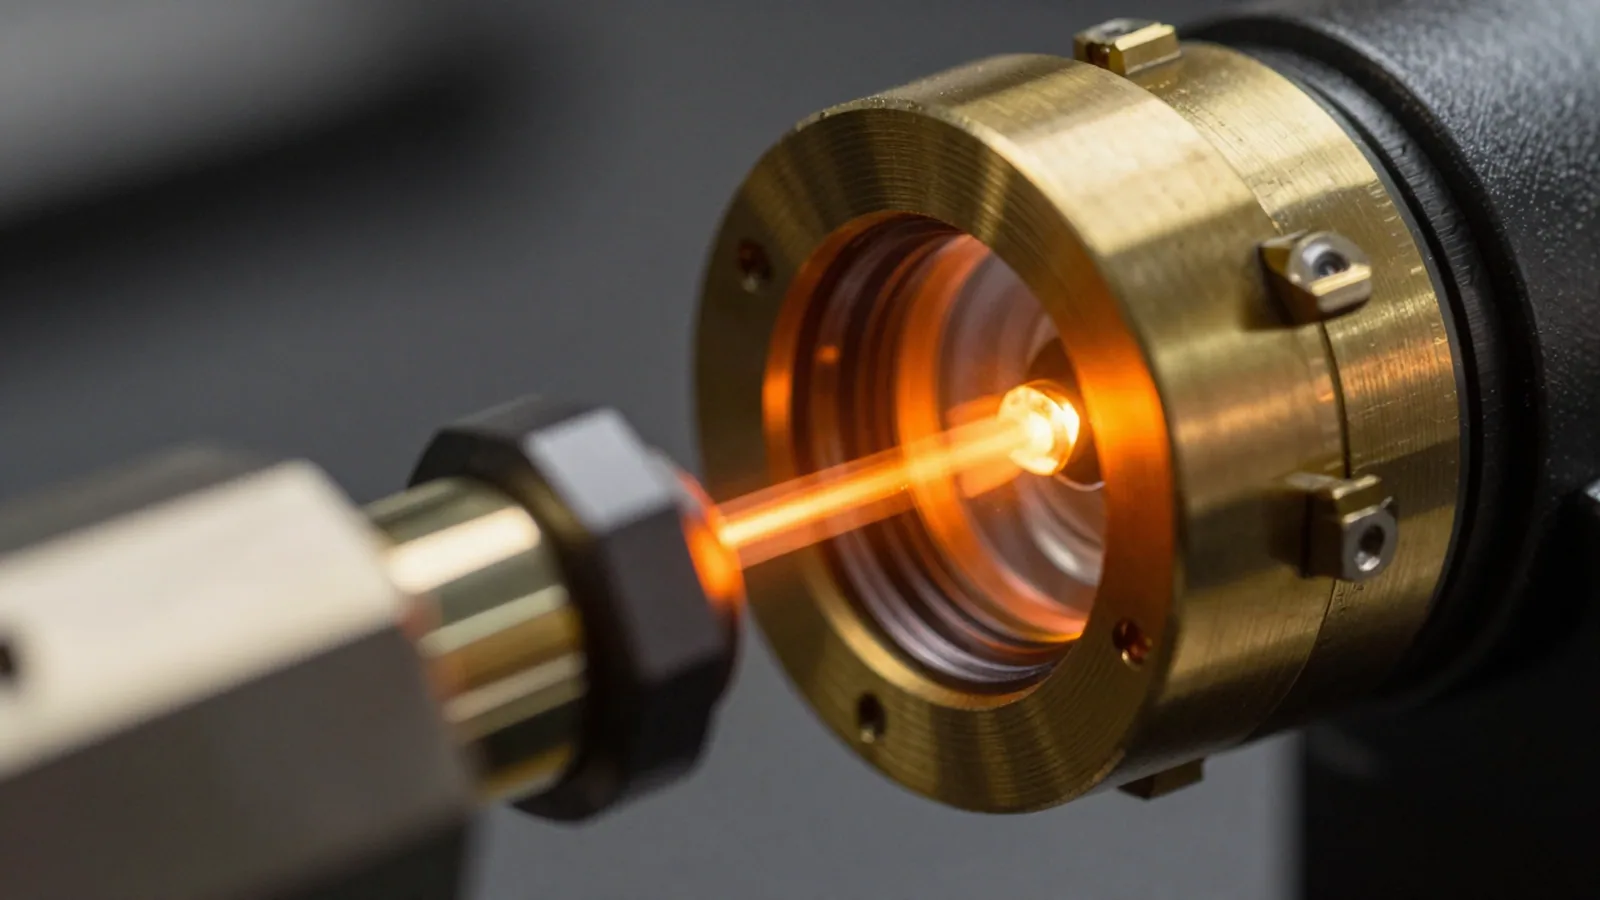
It is not the machine, it is the calibration
Every shop that buys a laser learns the same lesson in the first month: the machine is not what makes the mark good. Four variables do — power, speed, frequency and focal height — and every material wants a different combination of them.
Run stainless at the settings that work for anodized aluminum and you get a grey smear instead of a black mark. Run acrylic at wood settings and you melt the edge. There is no universal profile, which is why we keep a tested settings library for every material we stock rather than guessing on your part.
Why resolution matters more than size
Engraving resolution is measured in DPI, same as printing, and the instinct is to run everything at maximum. That is wrong. Too much DPI on wood chars the surface between passes; too little on metal leaves visible line banding.
The right answer depends on how close the piece will be viewed. A wall plaque read from six feet does not need the resolution of a watch case back read from six inches, and forcing it wastes an hour of machine time for no visible gain.
Where cheap engraving gives itself away
Look at three things on any engraved piece: the inside corners of letters, the consistency of depth across the whole plate, and the edge quality where the mark stops.
Rounded interior corners mean the laser was moving too fast for the power setting. Depth that varies across the plate means the material was not held flat or the focal height drifted. Rough, discolored edges mean the frequency was wrong for the material. All three are calibration problems, not equipment problems.